
A few weeks before the lockdowns started I was lucky enough to attend a Bronze Age dagger workshop day at Berrycroft Hub, taught by James Dilley. We each cast our own dagger, but we’re left to put a handle on them at home, so now I’ve got a got a bit of free time, and the weather is good, so here’s what I did…
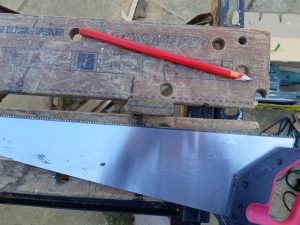
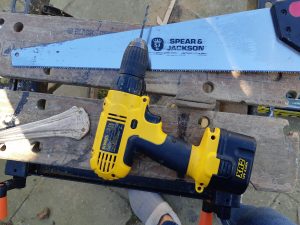
The starting point below is the dagger blade, some leftover 19mm thick oak, and some 3mm copper rods – I got these off eBay, they cme fom China, but I left them untouched for a couple of weeks so hopefully I’m safe! I have to admit that I’ve used power tools, how they managed it back in the day I don’t know – they definitely have my respect.
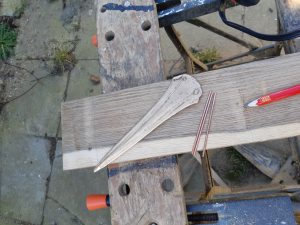
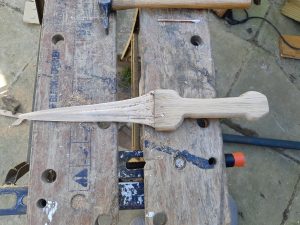
So the next step is to mark out the handle shape
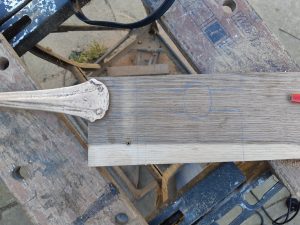
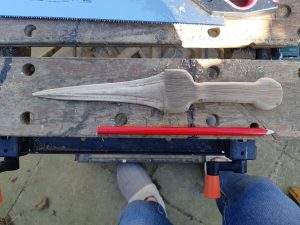
Note I marked out an extra stalk from the handle so that it’s easier to do some of the later steps. Now we break out the jigsaw:
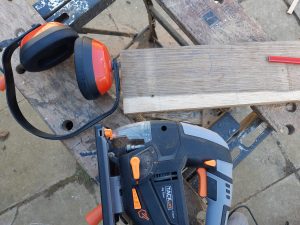
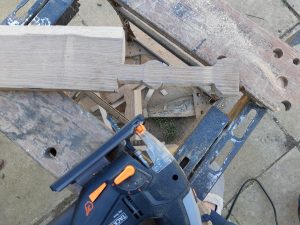
So now we need to round off, I took another shortcut, and go out the router with a roundover bit:
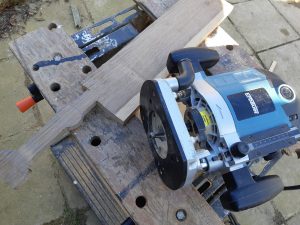
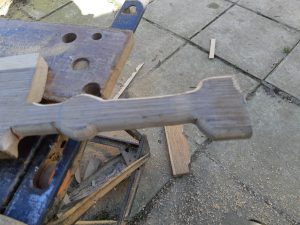
Remember it’s not a great plan to use a router across the end grain, it can easily cause chips to break off, so I sanded that next when I also sanded off the whole handle:
You can see that I also removed the stalk at this stage, so now we mark out to cut the slot in the handle to take the blade
I then started by using a saw:
but that doesn’t get a slot quite wide enough for the blad, and I didn’t want to reduce the blade thickness, so using a drill and repeating with the saw we can enlarge the slot:

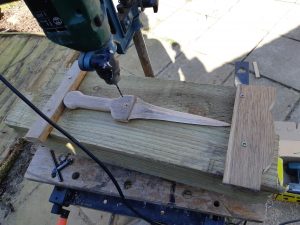
Now we’re ready to drill..
I’ll be using lengths of the copper rods to make the rivets
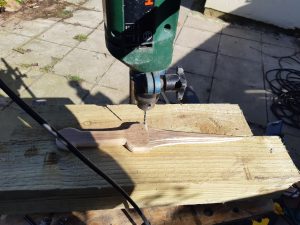
As you can see I brought out the drill press, then found it’s easy enough of course to get through the oak, but as the drill gets to the bronze it tries to push the blade from the handle. So I had to add blocks to stop the happening…
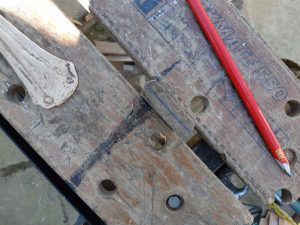
Having drilled the first hole it’s time to cut the rod to length – I went for about 4mm longer then the thickness of the handle (it’s easier to compare against an offcut which has a square edge). That should give me about 2mm each side the the handle to flatten out to form the rivet head.
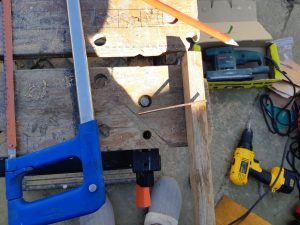
At this point I couldn’t find my small anvil (yes I really do have one somewhere in my overcrowded shed!) so I improved and used the splitting maul as an anvil, concrete won’t work as the copped will just chip into it, sarsen might do I guess.
I hammer one side for a while, then swapped, and repeated until I’d got the rivet heads flattened out and neat.
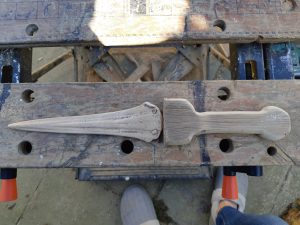
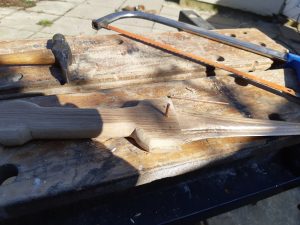
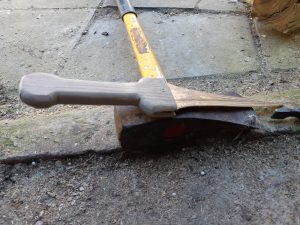
The second rivet spoled my day as the drill bit snapped off and left the tip buried inside the handle, I’ve had to just fill that hole, but this is the finished article:
It’s not perfectly symetrical, but I expect those created by starter bronze age dagger makers back in the day wouldn’t have been so much better, it’s surprisingly nice to hold. Once we’re allowed out again I’ll see if I can persuade our curator to accept it for display in the heritage centre.
